Graveyard Keeper 2 Teleport Stones — All 11 Milestones and Faith Costs
Graveyard Keeper 2 dropped the Teleportstone item: fast travel runs on 11 Milestones, seven costing Faith 1–8 (23 total), four free. Full cost list inside.
FAQ
Are there teleport stones in Graveyard Keeper 2?
How much Faith do the Milestones cost?
Is fast travel itself free?
Can you fast travel while carrying a body or logs?
Where does the Faith for activation come from?
Are there teleport stones in Graveyard Keeper 2?
Almost, but not by that name. The first game’s Teleportstone is gone, and the sequel hands fast travel to the Milestone — a carved stone pillar you find out in the world rather than an item in your bag. There are 11 milestones on the world map, and activating them is the whole fast-travel system: no recipe, no consumable, no recharge.
Seven of the eleven ask for Faith. The other four are free, including the one at your base. That split is the real decision on this page, because Faith is also the currency behind research, Inspirations and perks — a cheap milestone is still a milestone you paid for with research you did not do.
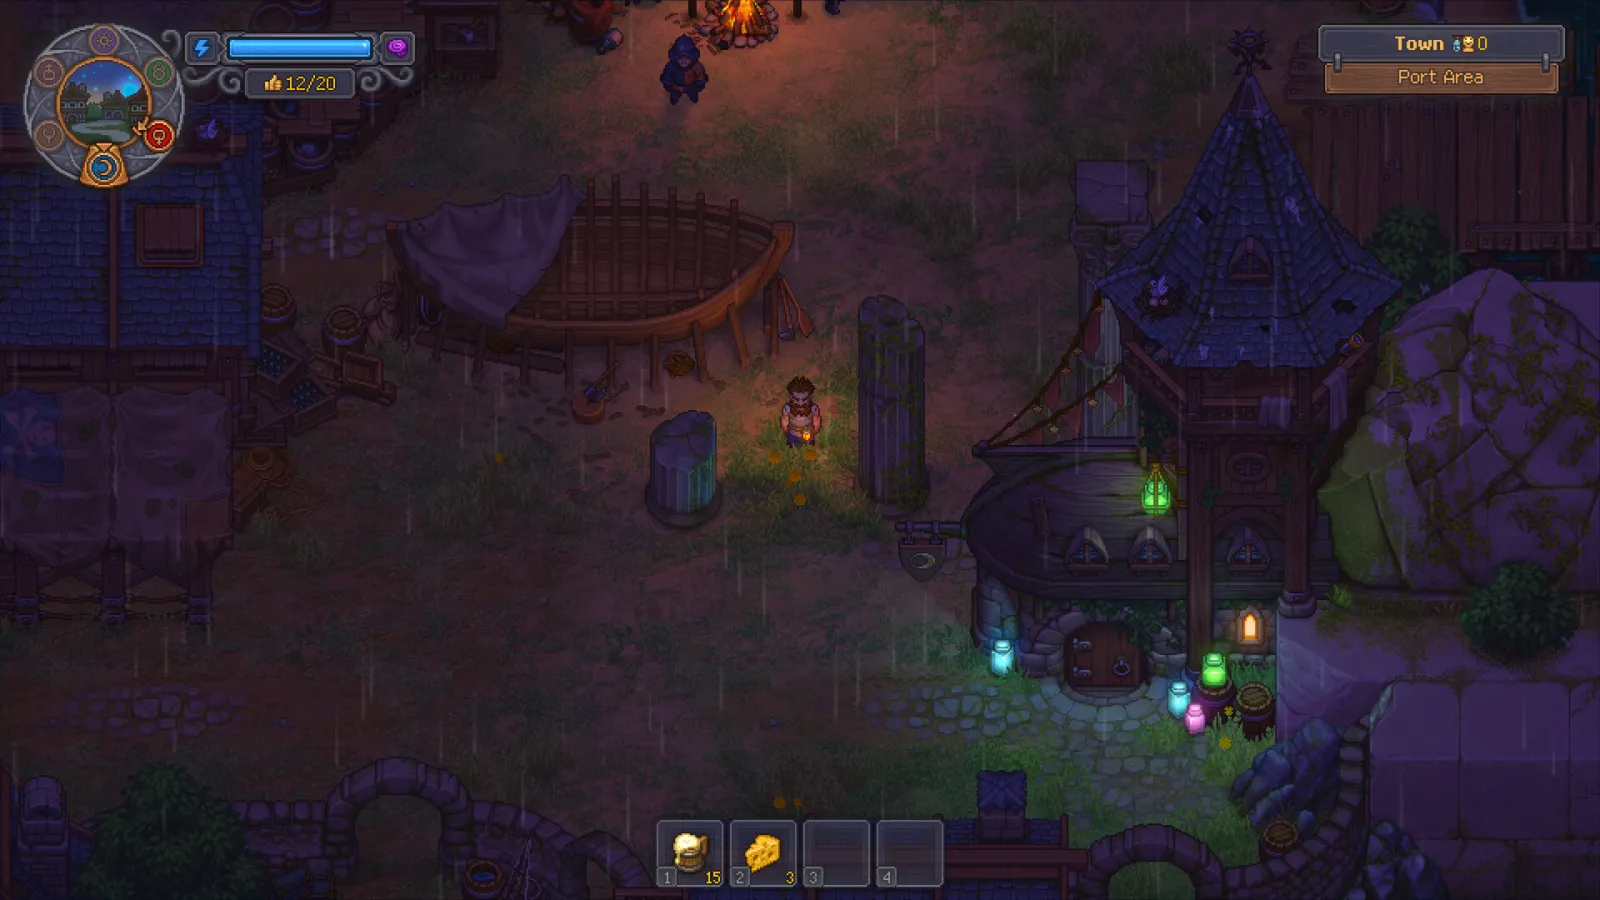
The Port Area is one of the paid regions: its milestone is recorded at 3 Faith. Official Steam screenshot.
All 11 Milestones and what they cost
The costs below come from community-mined wiki data rather than an official table, so treat the numbers as a planning reference and confirm them on the pillar itself — the activation dialog prints what you hold against what it wants.
| Milestone | Where it is | Activation cost |
|---|---|---|
| Crossroads | The junction east of the graveyard where the roads to the Village and the Town meet | 1 Faith |
| Graveyard | Your graveyard and the church road | 1 Faith |
| Village | Village Tavern, Herm’s store, the Royal Services mailbox and a fishing spot | 2 Faith |
| Vineyard | The vineyard work zone on the slope | 2 Faith |
| Port Area | The docks and Jack’s boat, where trading opens up | 3 Faith |
| Quarry | The quarry resource zone | 6 Faith |
| Swamp | The marsh at the southern end of the map, home of the Goddess of Nature statue | 8 Faith |
| Inquisition Base | Your base: Yard and Garden work zones, Home, the Abandoned Tower with the Alchemy Lab | Free |
| Stilt Houses | The stilt-house settlement | Free |
| Sluice Area | The sluice and the gold-washing box | Free |
| Royal Foundry | The foundry; its pillar sits underground and is marked at the foundry on the map | Free |
The paid seven add up to 23 Faith. If you intend to open the whole map, that is the number to plan against — and it lands on the same ledger as every ingredient you will ever study at the Study Table.
How activation and travel work
The loop is short, and it explains why the expensive pillars are easy to postpone:
- Walk to the pillar. Milestones are physical objects, not map icons — you have to reach one on foot before you can ever travel to it.
- Read its Faith counter. The dialog shows what you hold against what the pillar needs.
- Confirm and pay once. Activation is permanent. There is no upkeep and no second charge.
- Jump from any activated pillar. With two or more active, interacting with one opens the map; pick any other activated milestone and you are there.
Travel itself is free, instant and costs no in-game hours, which is where milestones stop being a convenience and start being a schedule tool. Errands that would eat a day of walking — restocking at the merchant, selling at the tavern, checking a distant work zone — collapse into minutes. You can also carry cargo: logs, bodies and zombies come along, so heavy deliveries to remote production zones do not need a second trip.
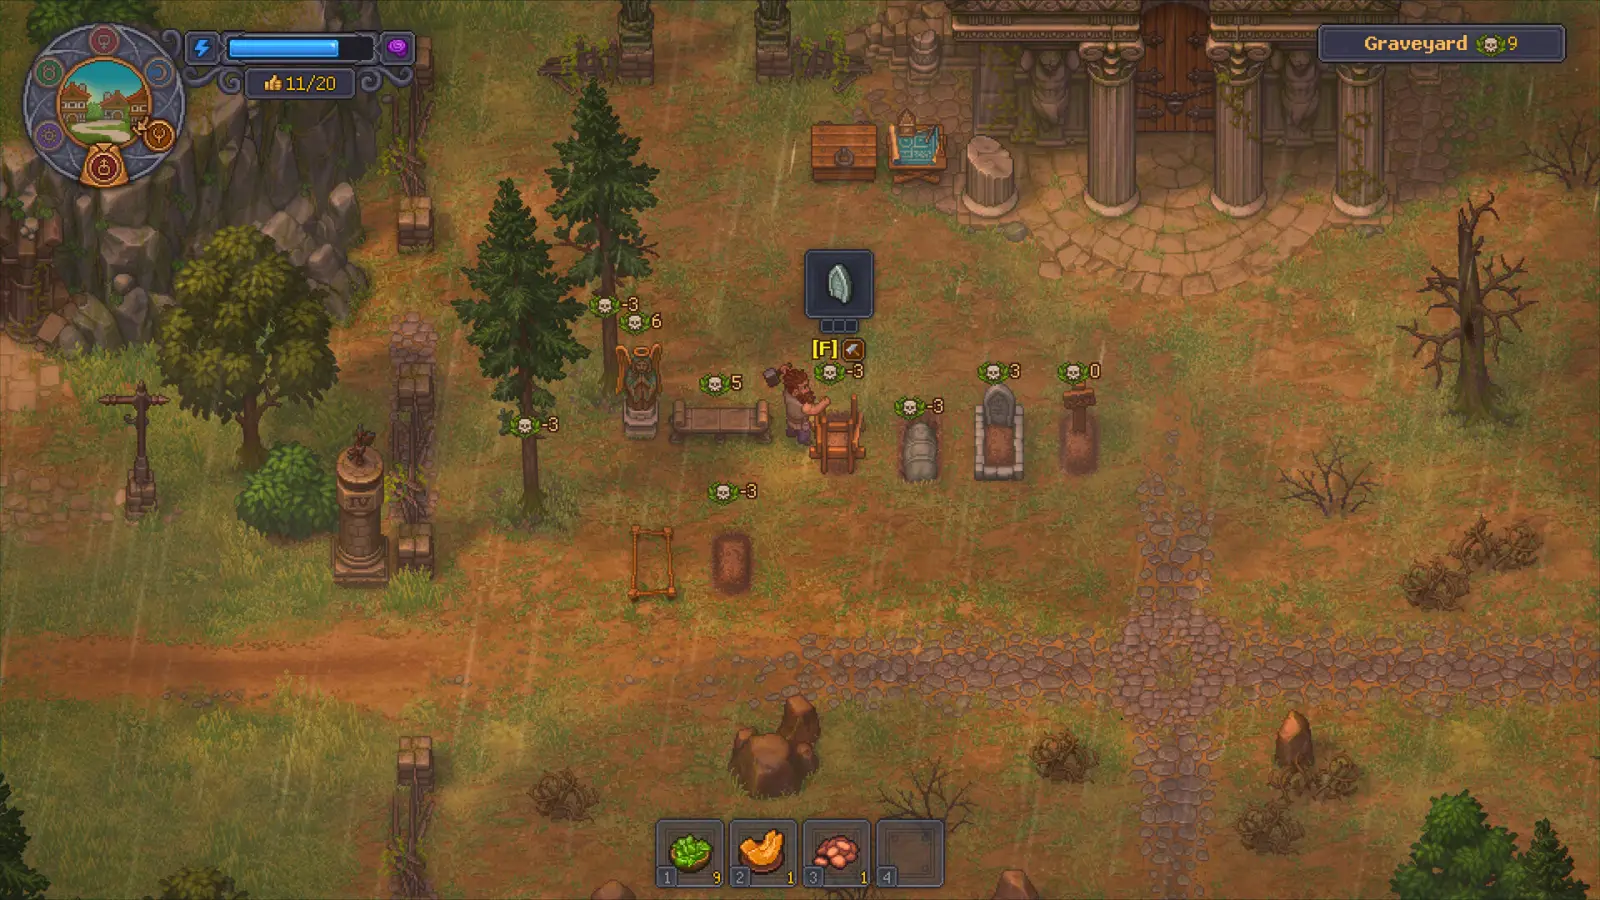
The Graveyard milestone is one of the two that cost 1 Faith, and it sits on the road you walk every day. Official Steam screenshot.
Which milestones to unlock first
The cheap pillars are cheap because they cover the routes you already walk, and that is exactly the order that pays off:
- Crossroads (1 Faith) first. It is the junction where the roads to the Village and the Town meet, so it turns your two most common trips into a single hop.
- Graveyard (1 Faith) next. It anchors your own base-adjacent route; at one Faith it is the cheapest insurance in the game.
- Village (2 Faith). The tavern, Herm’s store and the mailbox all sit here, which makes it the delivery hub for the Town Warehouse order loop.
- Port Area (3 Faith) when trading starts. The docks are where the sell-a-stack route pays, as the how to make gold guide works through.
- Leave Quarry (6) and Swamp (8) for later. Neither is on a daily route, and 14 Faith between them is a fortnight of research you could have had instead.
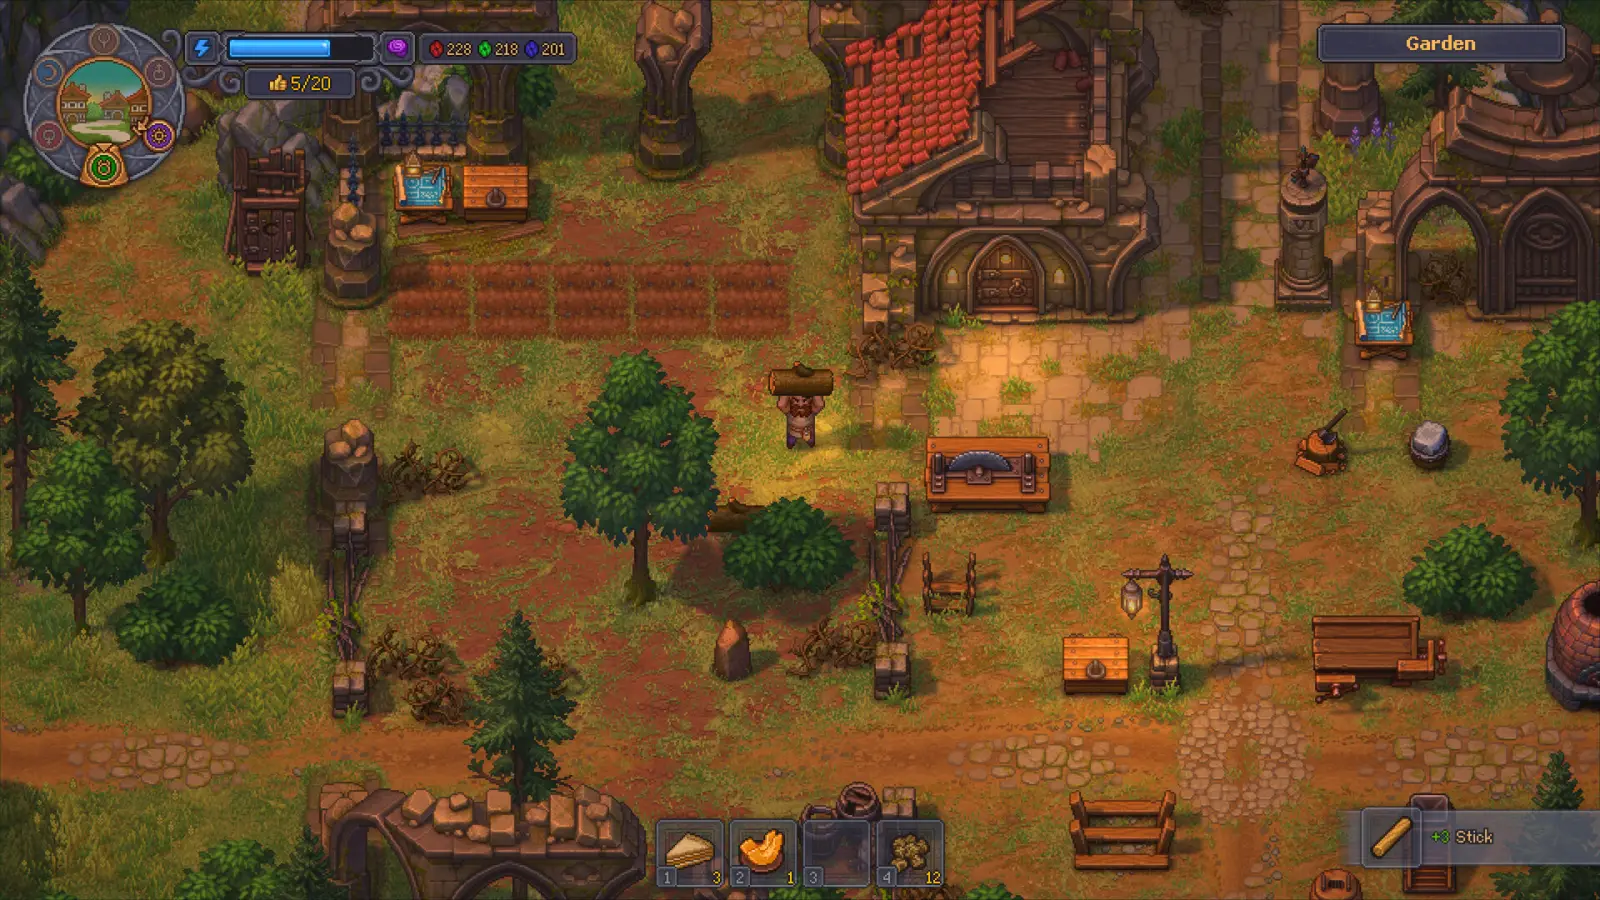
Your base — the Inquisition Base region, whose milestone is recorded as free. Official Steam screenshot.
The Faith budget behind the map
Milestones compete with the rest of the Faith economy, so it is worth seeing the whole bill:
| Faith sink | Cost | Notes |
|---|---|---|
| All seven paid milestones | 23 Faith | One-time, permanent |
| Study Table research | 1 Faith + 1–2 Science per ingredient (varies by item) | Every alchemy ingredient you want to use, as covered in the runes reference |
| Prayers, Inspirations and perks | Varies | Same pool, no separate currency |
Because activation is one-time and research is per-ingredient, the ordering question is not “milestones or nothing” — it is “which comes first this week”. A useful rule: activate the pillars that cost more than 1 Faith only once sermons are covering your research, and never spend the Faith you need for a study batch on a far-off pillar you will visit twice.
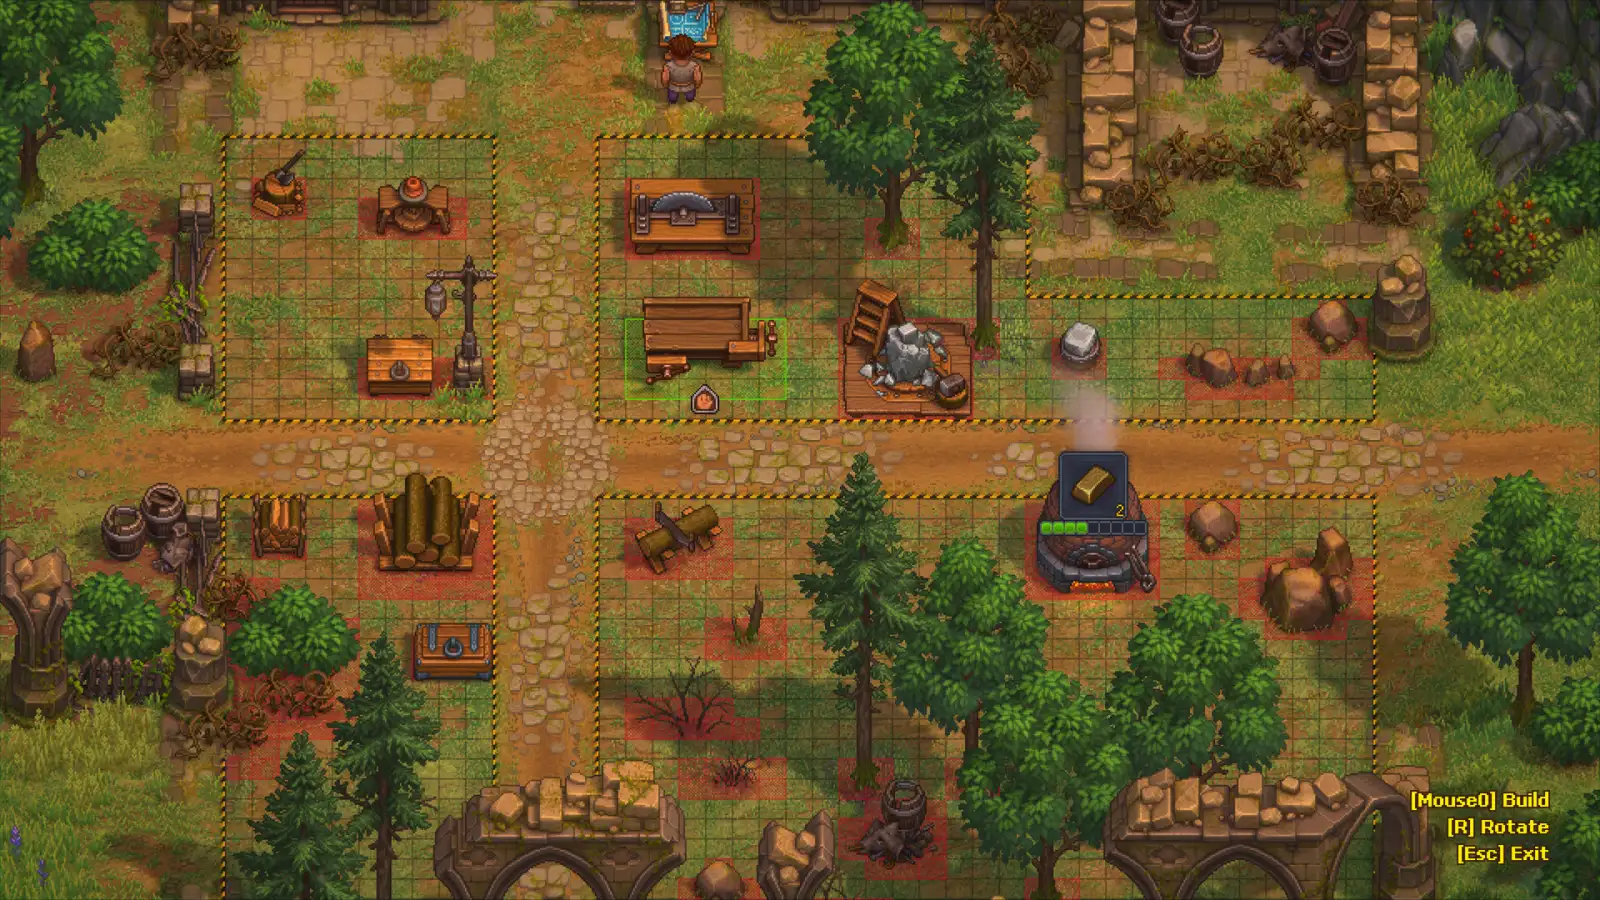
Region planning and milestones are the same decision: a far work zone is expensive to reach until it is on the network. Official Steam screenshot.
Milestone checklist
- Walk to a pillar before you plan around it — you cannot travel to an unactivated milestone.
- Pay the 1 Faith pillars first: Crossroads, then Graveyard.
- Budget 23 Faith if you want the full map, and compare it against research costs before committing.
- Confirm the cost on the pillar’s own dialog; the mined table above is a reference, not a promise.
- Use fast travel for cargo runs — logs, corpses and zombies travel with you at no extra cost.
Sources and verification
The mechanics here are cross-checked against two independent community sources, read on 2026-10-11:
- Wikily’s world map page — enumerates all 11 milestones with per-pillar Faith costs and region descriptions. This is data-mined community data, and it is the source of the cost table.
- ShowGamer’s fast travel guide — an independent pass over the same system, confirming that the old Teleportstone was replaced by milestones, that activation is one-time, that travel is free and instant, and that Faith comes from sermons.
One conflict is worth recording rather than papering over: ShowGamer describes “more than a dozen” milestones, while Wikily enumerates exactly 11 with costs that add up to its stated 23 Faith total. This page follows the enumerated list. The sources also disagree on the in-game calendar, so no weekday or sermon cadence is published here. Screenshots are official Steam store material; covers are generated by this site, not game captures.
Related Articles
guides
Graveyard Keeper 2 Character Creation: What You Can Customize and When
Graveyard Keeper 2 has no opening character creator — customization unlocks later via Suit Up! Build the dresser with mirror to change hair, beard and clothes.
items
Graveyard Keeper 2 Writing Desk — Location, Build Cost and Recipes
The Writing Desk in Graveyard Keeper 2 goes in the Writing Room under your house: 4 planks, 6 nails, 1 polished bronze. Paper and Science Kits for the Study Table.
guides
Graveyard Keeper 2 Gold Guide — Fast Coin & Golden Nuggets
Graveyard Keeper 2 gold means two things: coin income and Golden Nuggets. Follow the water-to-paint sale and the sluice box route, checked frame by frame.
Was this helpful?
Thanks for the feedback!