Graveyard Keeper 2 Automation: Factory Guide
Build a reliable Graveyard Keeper 2 automation loop with zombie power, conveyors, factory stations, fuel automation and city supply orders step by step.
FAQ
How do you unlock automation in Graveyard Keeper 2?
Why are my Graveyard Keeper 2 conveyor belts not moving items?
What is the difference between fuel automation and a zombie factory?
What automation means in Graveyard Keeper 2
There are two useful automation layers. Fuel stations keep processing after you queue a recipe and provide Fuel. The underground factory is the larger system: zombies work at factory benches, conveyor belts move materials, and Zombie Carousels provide factory power. Community data lists 46 zombie-capable stations out of 84, so the right plan is to automate the jobs that remove repeated hauling first.
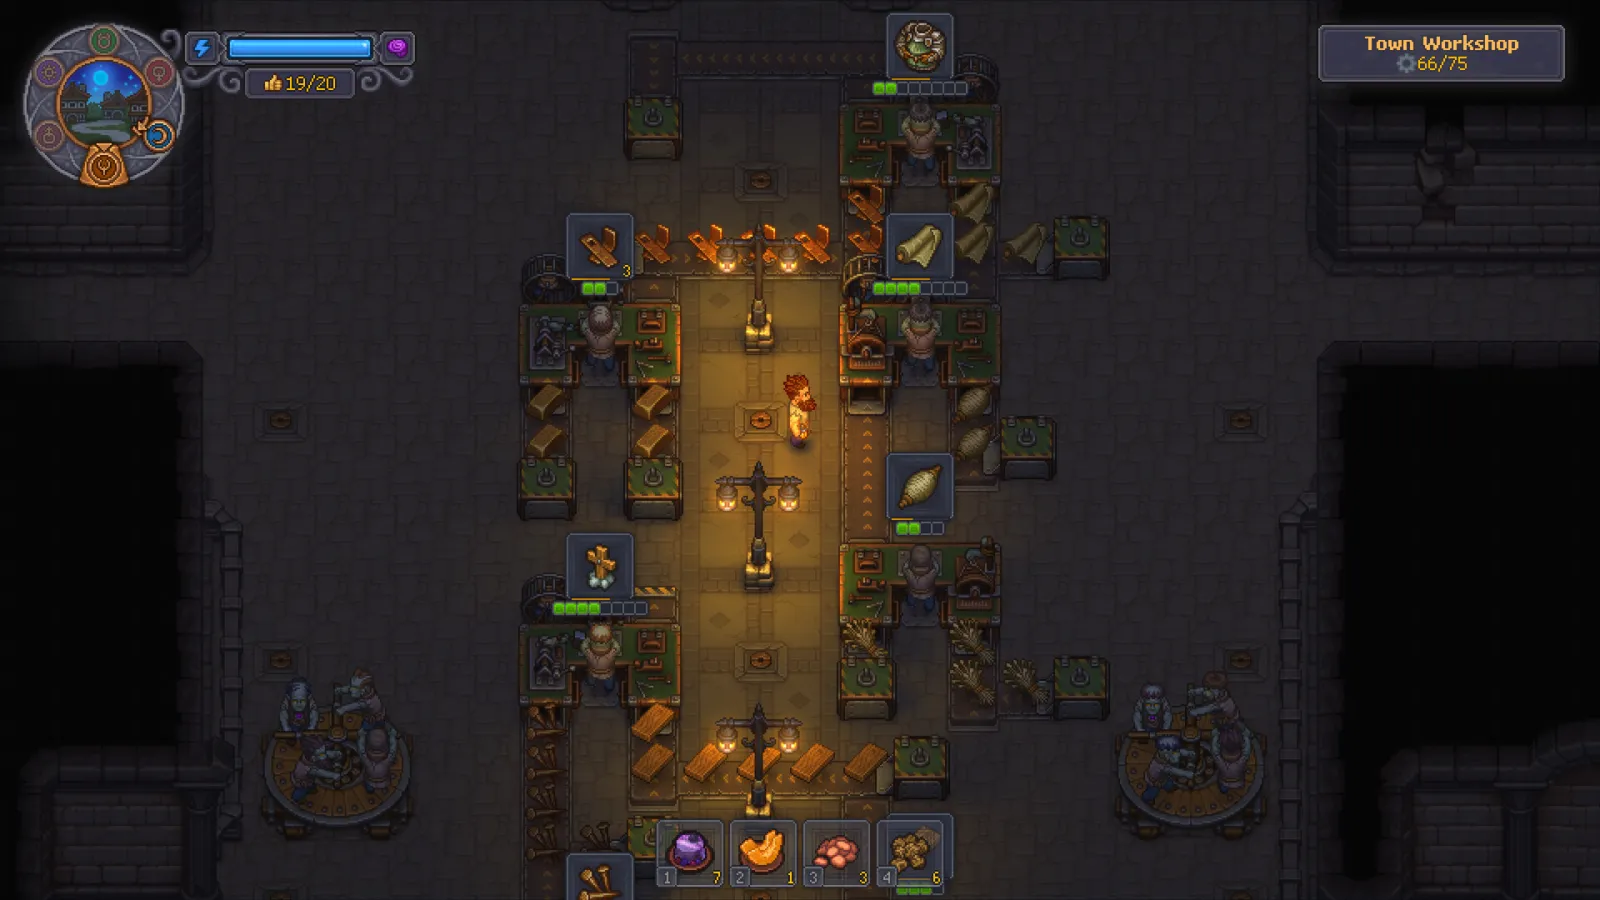
The official Town Workshop screenshot shows the visual language of the factory: workers, stations and belt-side storage in one production area.
The factory production calculator is useful once the line exists: it estimates output from a station preset and the worker mastery. The how to make zombies guide covers the corpse, collar and Resurrection Table pipeline when the factory needs more workers.
Unlock the underground factory
Automation is a progression project, not a first-day build. The walkthrough used for the screenshots starts by completing Jack’‘s quest work and unlocking the factory technology. The facts available for this site confirm the key gate: Jack’’s Back in Business opens the conveyor and factory logistics path. The exact reputation threshold is not stated in the source record, so do not plan around an unverified number.
- Progress Jack’’s workshop quests. Repair the workshop and complete the nearby objectives that open the factory technology.
- Unlock the factory pieces. You need conveyors, factory workstations, supply logistics and zombie workers before a line can run.
- Clear only the rooms your layout needs. Rubble and damaged sections can block routes; repair them as your production plan reaches them rather than spending every material up front.
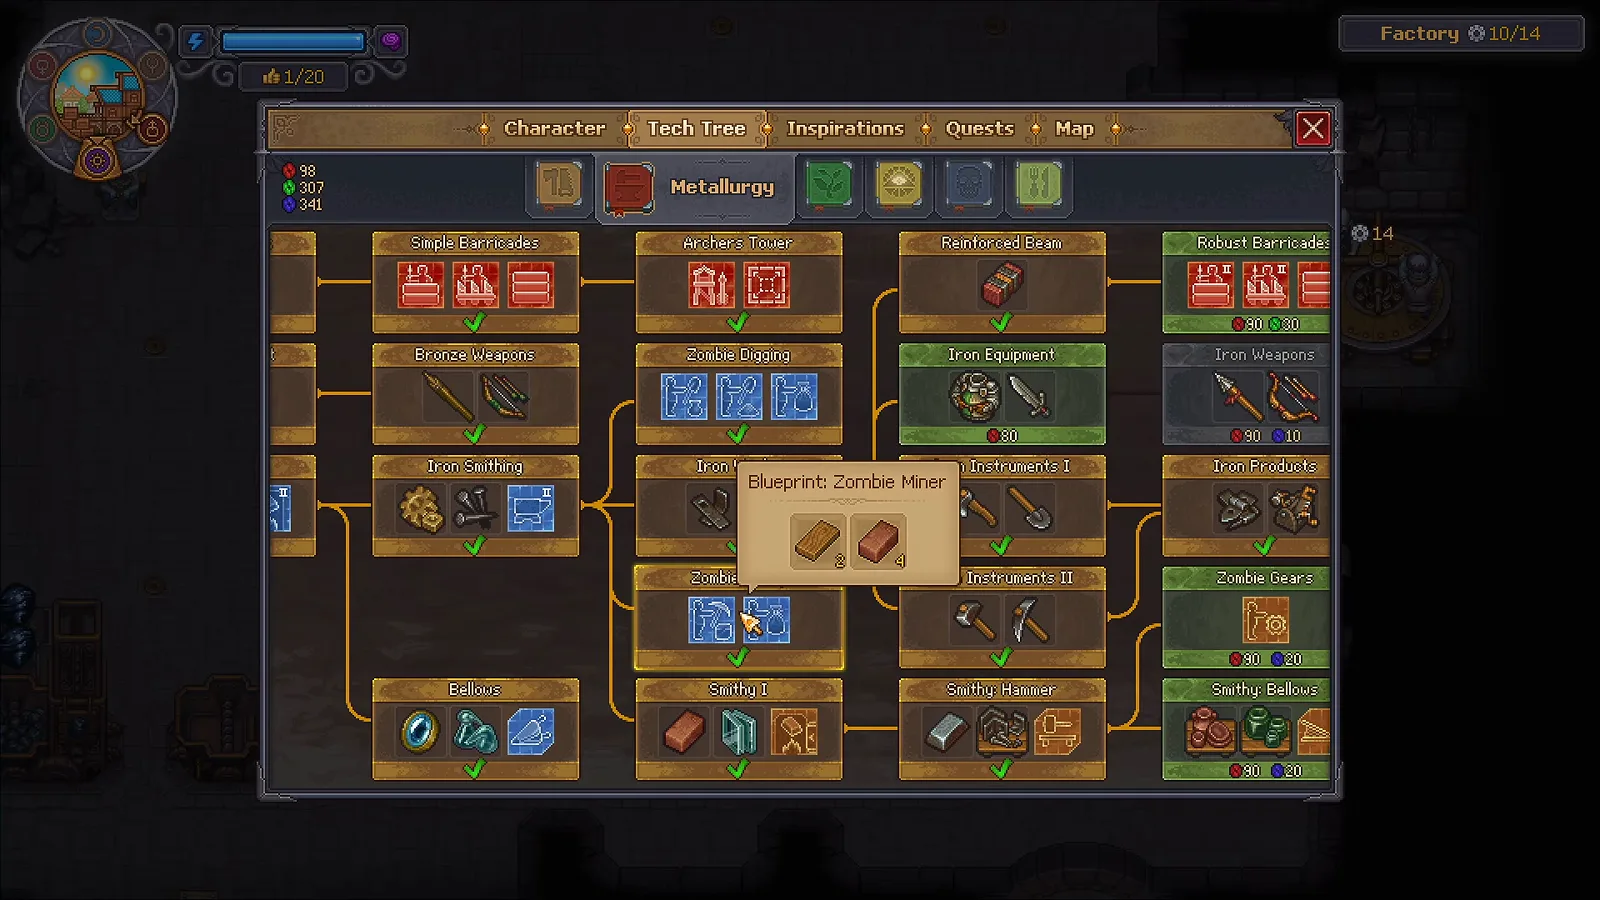
The source video shows the Smithy Hammer branch while explaining the technology needed for iron production. Watch this moment at 1:28.
Build factory power before the line
Repair a Zombie Carousel and assign zombies to it before placing a long belt route. A carousel supplies factory power, and each additional powered carousel lets the factory support more equipment. The calculator data records 7 factory power from the standard carousel and 10 with the Belt Master perk; treat those values as patch 1.007 community data rather than a universal power formula for every future patch.
The source walkthrough shows the carousel and the factory power counter before the production line is connected. Keep the power counter visible while expanding: adding belts and stations can consume the capacity you have already built.
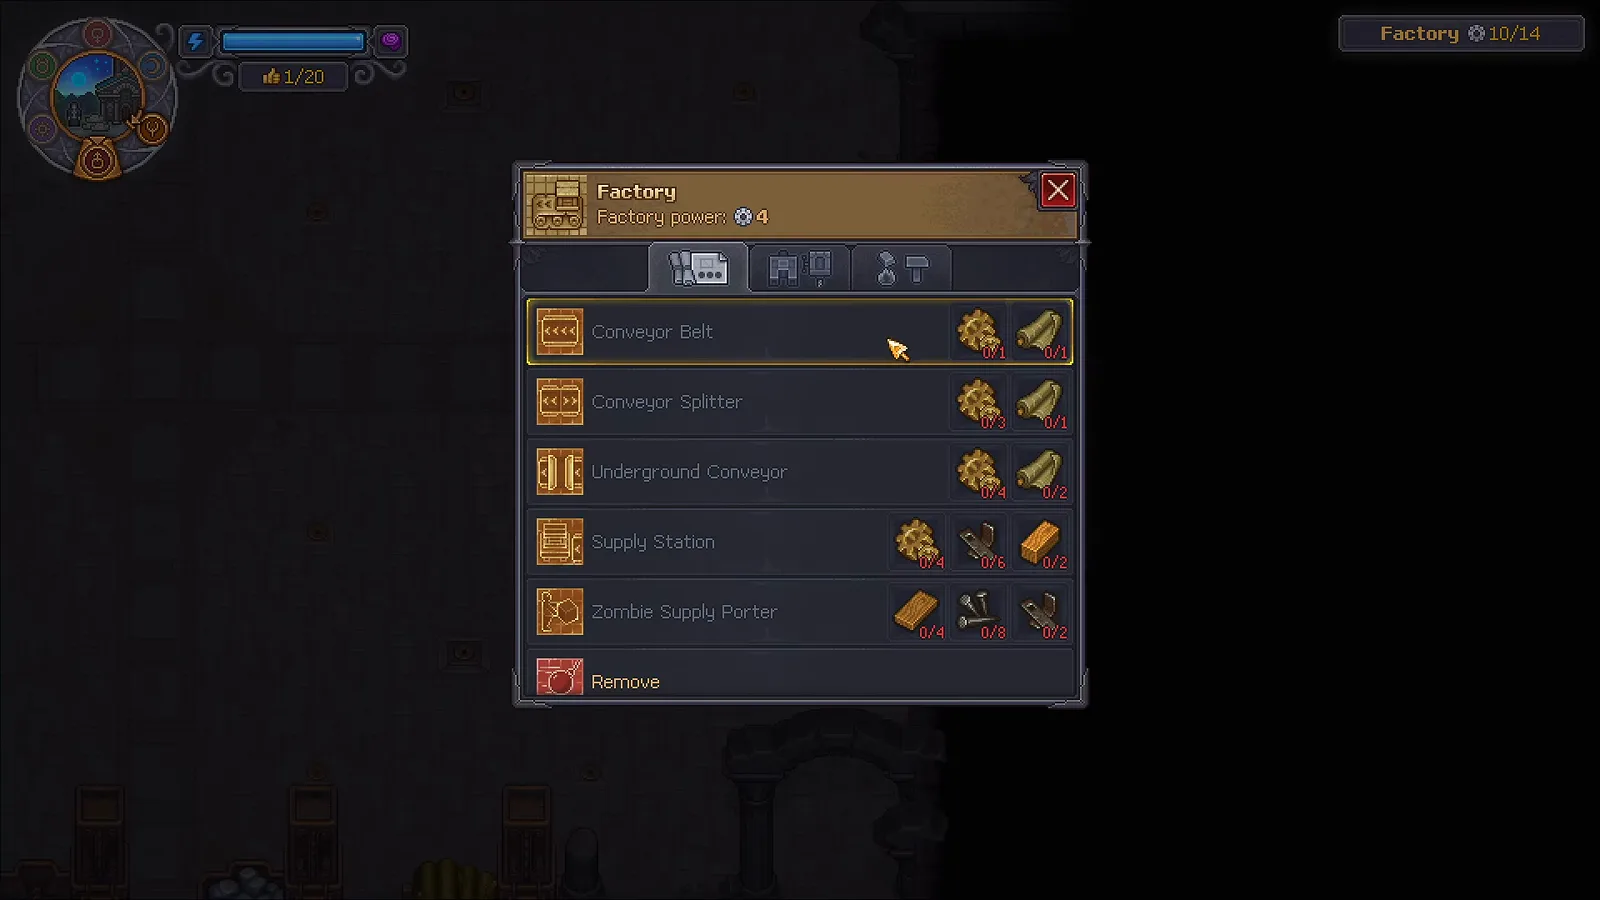
Build the logistics pieces from one menu, then connect them to the stations that actually need them. Watch the menu at 8:00.
Connect a first factory line
An iron-to-Supply line is a clear first project because it demonstrates every handoff without requiring a giant layout:
- Place the input and station close together. Resource warehouses feed the factory through their exits, so a compact route uses fewer belts and is easier to debug.
- Place the Smithy or another compatible factory station. Queue a recipe and check the required mastery before assigning a worker.
- Point every belt arrow toward the next input. A belt that looks connected but points away from the station will leave the queue idle.
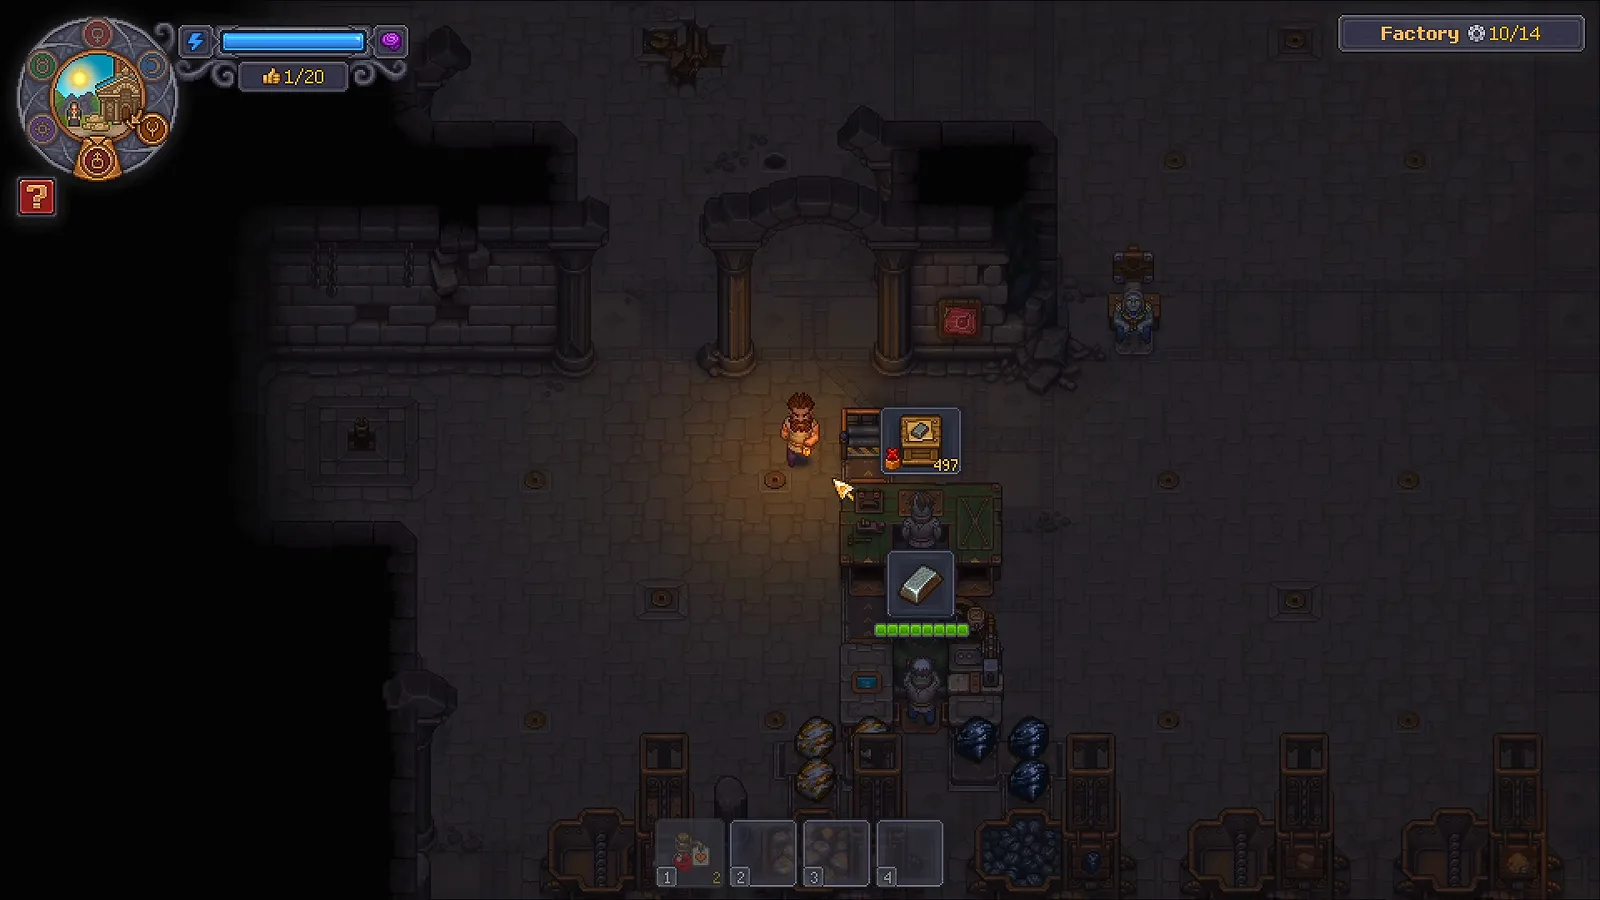
- Add the Assembly station when the recipe needs an intermediate. The Smithy can send an ingot into the next station instead of making you carry it by hand.
- Finish with a Supply Station and delivery pallet. The completed Supply item can wait there for a carrier, then travel toward the Town Warehouse when the delivery route is configured.
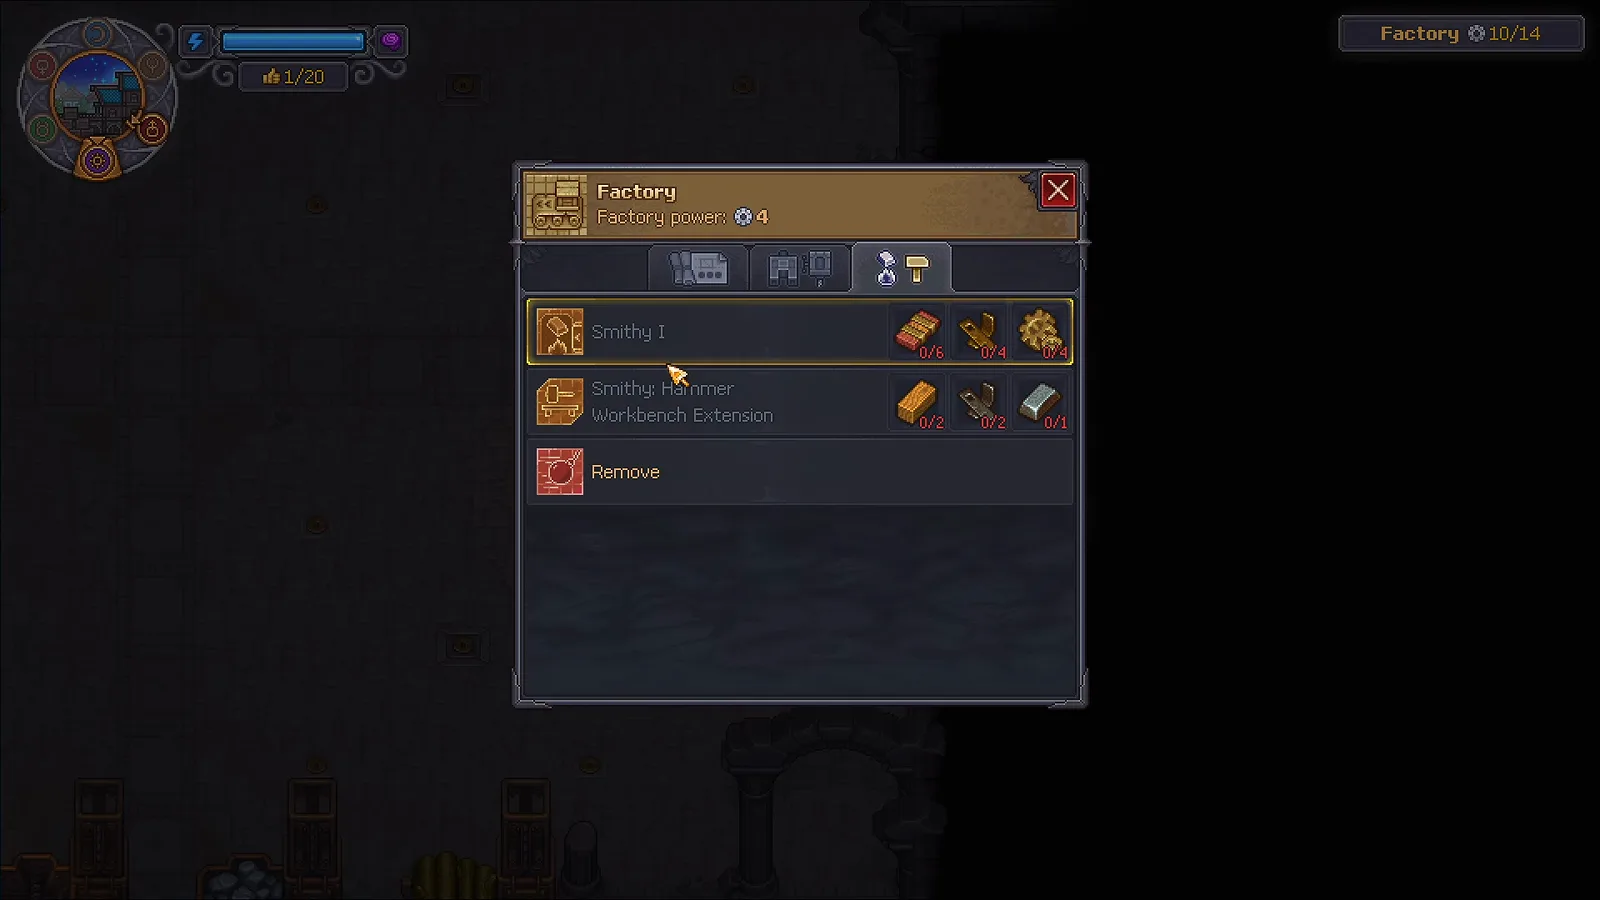
The source build keeps the workstations close enough to make a short route. Watch the station placement at 5:15.
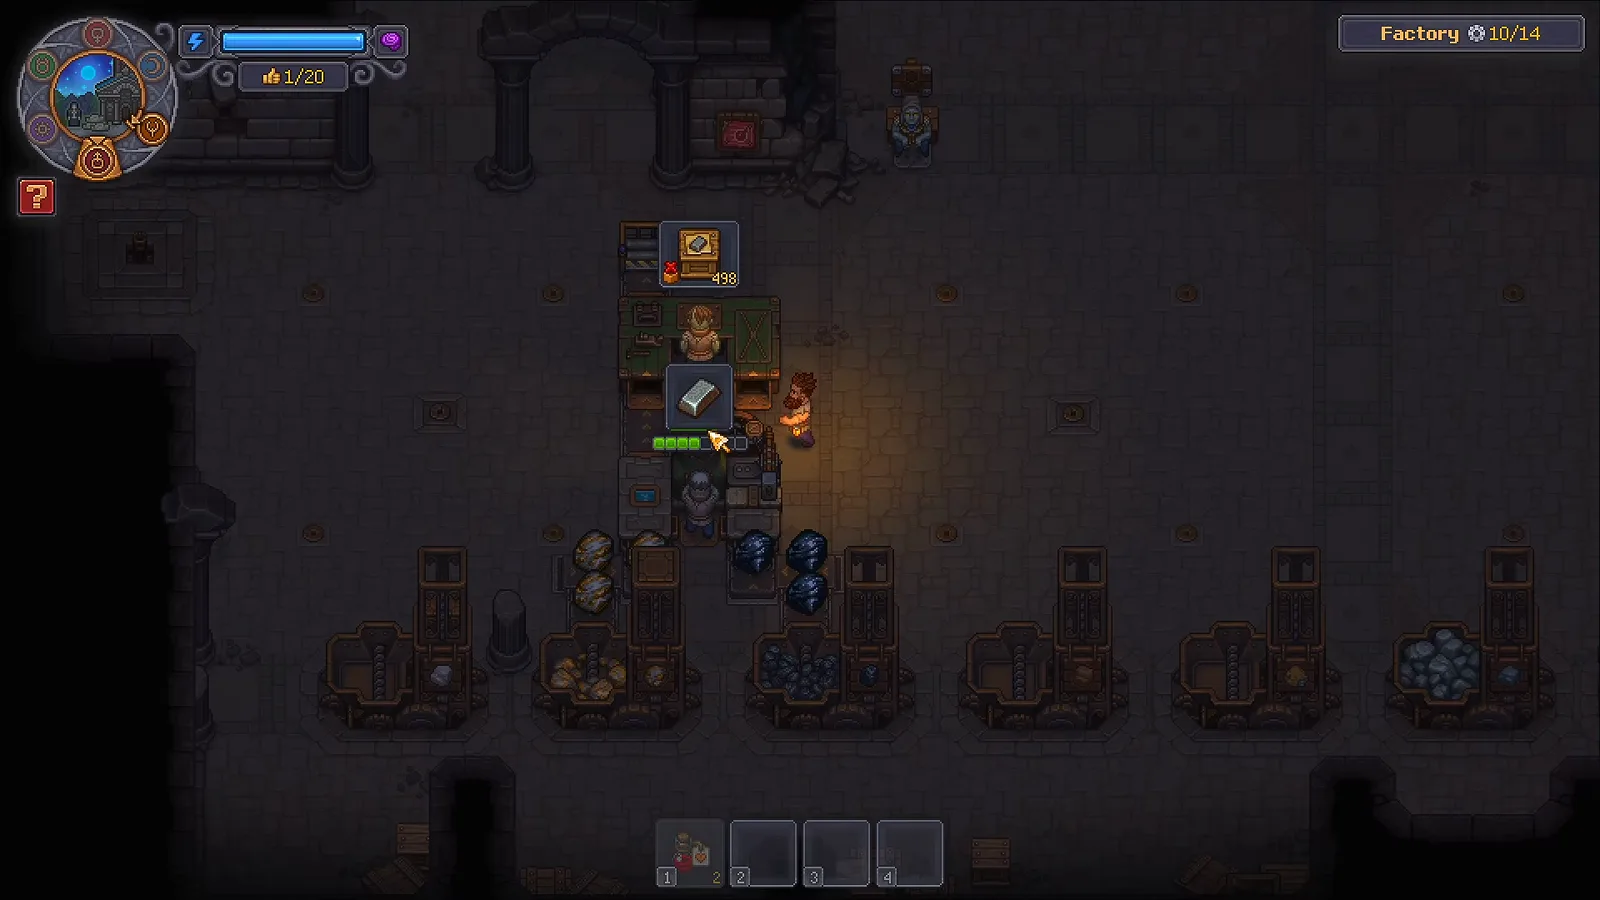
A running line makes the intermediate item visible above the station, which is the quickest way to tell whether the worker and input route are working. Watch at 7:30.
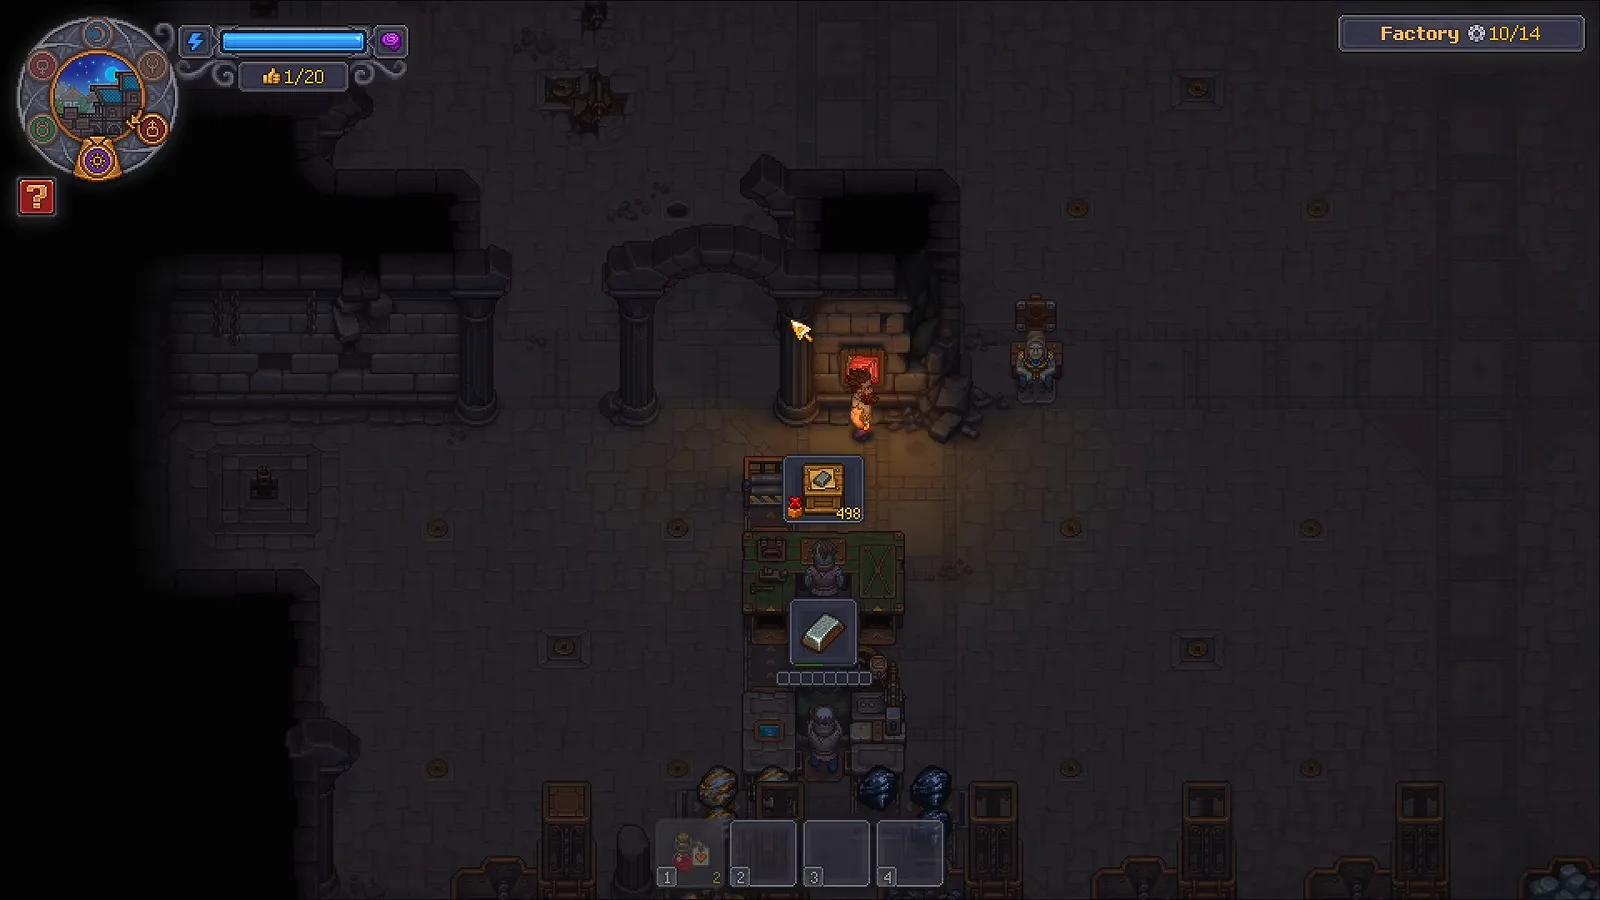
Use the Supply Station as the explicit handoff point instead of leaving finished goods on a workbench. Watch at 6:00.
Give every zombie the right job
Factory zombies still use the same core requirements as other zombie workstations:
- Mastery: a worker starts only recipes at or below its relevant mastery. Check the station requirement before assuming a new zombie is bugged.
- Tools: the source walkthrough demonstrates miners with a pickaxe and station workers with the appropriate tool. A missing tool can make a correctly placed zombie look idle.
- Perks and upgrades: perks change output on supported recipes. They are yield levers, while mastery changes the tick requirement.
- Capacity: the Resurrection Lab sets the zombie cap. The PR Machine can raise that cap through programs, and exceeding the cap reduces prayer income.
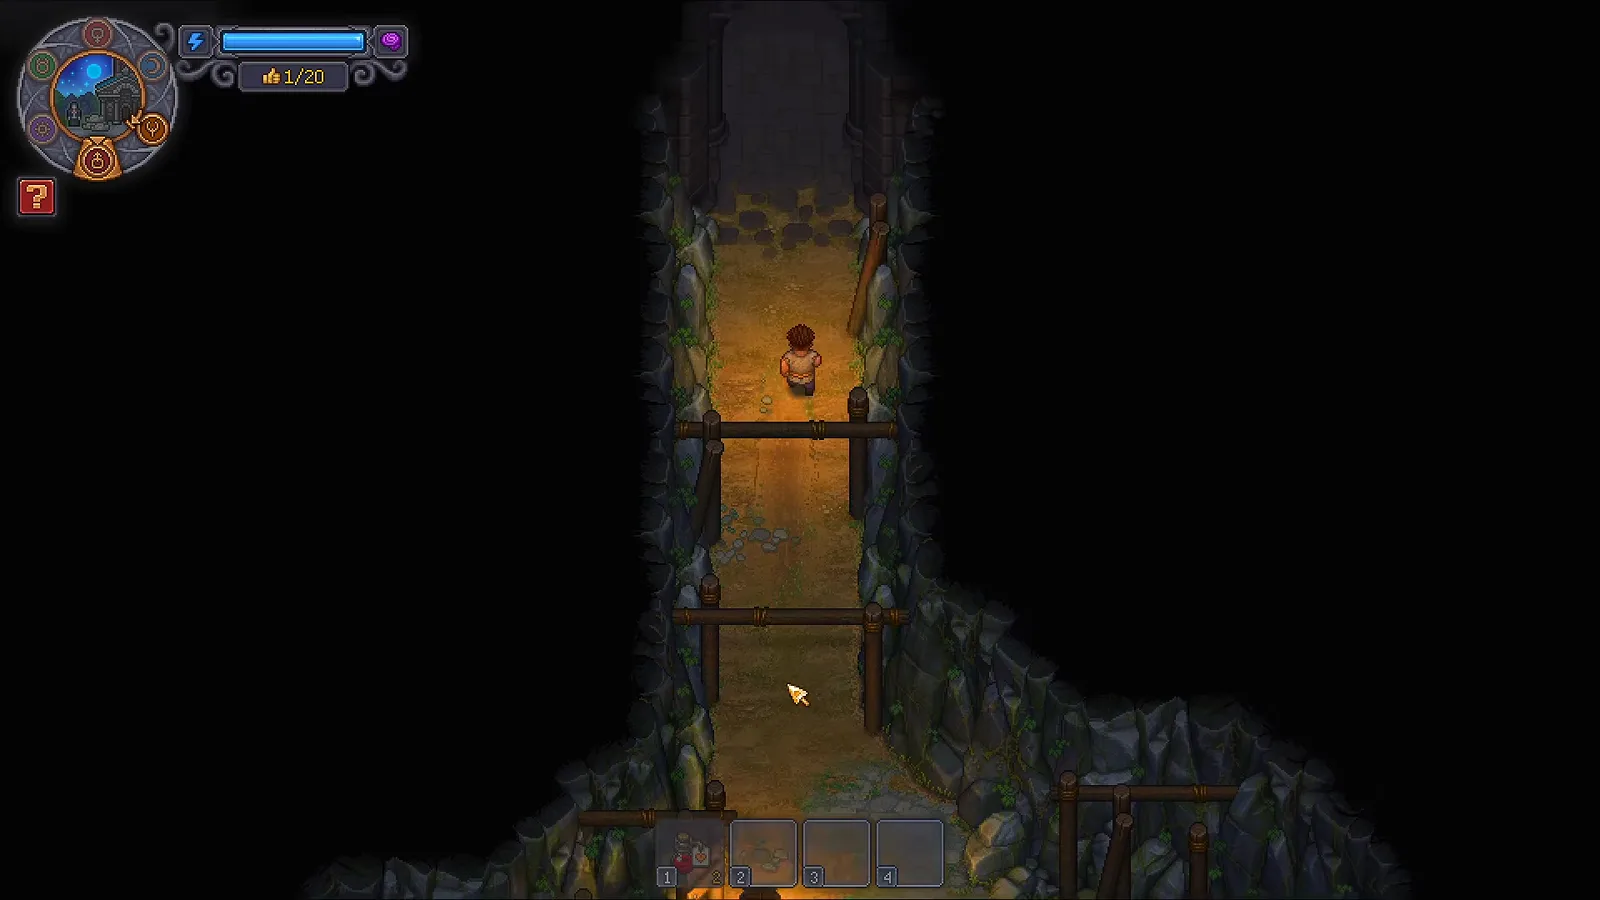
The factory only becomes a reliable system when workers, resources and routes are assigned together. Watch the worker setup near 6:35.
Keep fuel automation separate
Do not put a Furnace or another fuel-burning station on the same mental checklist as the zombie factory. Fuel stations self-run once started, but they still need Fuel and recipe inputs. The documented conversion is 2 Firewood to 20 Fuel at a Firewood shed. The production calculator can model a single recipe chain; the Flax guide is useful when a factory plan depends on Fabric inputs.
Use the factory for the work that benefits from movement and repeated handoffs. Use fuel stations for unattended processing. Keeping those two loops separate makes a stalled belt easier to diagnose and keeps a fuel shortage from looking like a zombie problem.
Connect the order loop
Town orders are the visible payoff for a factory line. The order board screenshot below shows a Supply Iron entry and its gratitude reward. The source video uses the same idea: the factory creates the Supply item, a Supply Station holds it, and a carrier moves the finished goods toward the Town Warehouse.
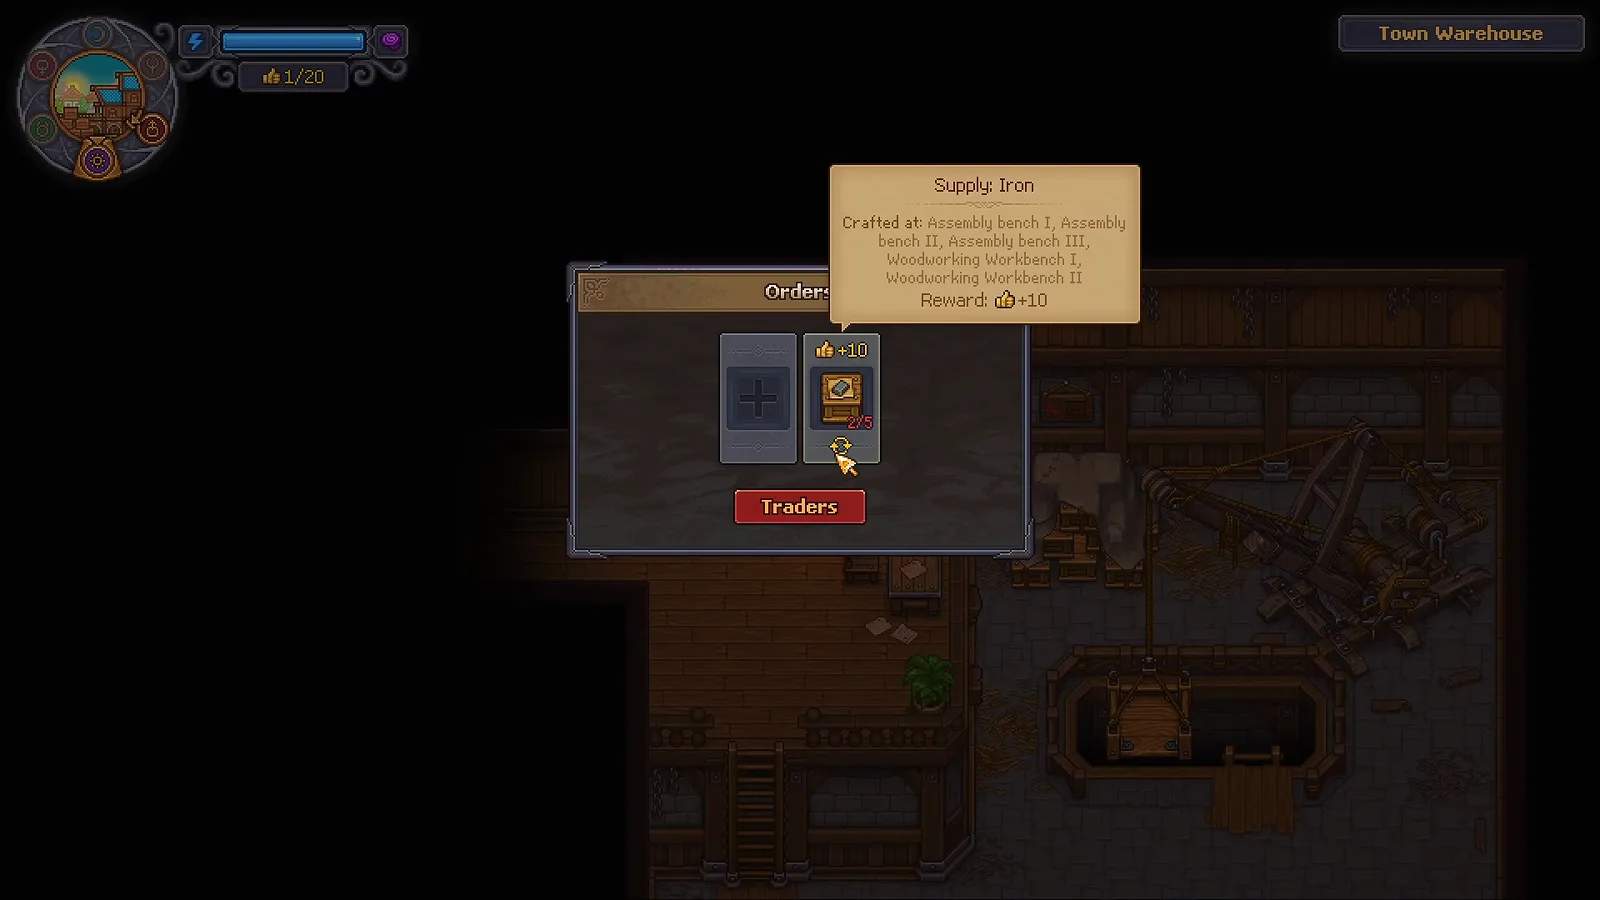
Orders turn an automated production chain into a delivery loop. Watch the order board at 3:00.
The exact order timing matters: orders are tied to the Pride day cycle, with up to two active at once. Deliver the complete item set to the covered crate beside the Town Warehouse, and treat urgent orders as a one-week deadline. These rules come from the site’’s cross-checked research; the walkthrough is used here for the visible route, not as the sole authority for the calendar.
A completed Supply item is the end of the factory side of the loop; delivery logistics handle the trip to town. Watch the completed handoff at 12:00.
Automation checklist
Before leaving the factory to run unattended, verify:
- Jack’’s factory technology and the required room access are unlocked.
- At least one Zombie Carousel is powered and the counter has room for the route.
- Every station has a worker with the required mastery and tool.
- Resource stock is in the warehouse that feeds the station.
- Every conveyor arrow points into the next station or storage handoff.
- Finished goods have a Supply Station, pallet and carrier route when the line serves orders.
- Fuel stations have Fuel separately from factory inputs.
For a numeric capacity check, open the factory production calculator. For more workers, return to the zombie guide; for material planning, compare the Steel Ingot guide before promising a steel-heavy order chain.
Video source and verification notes
The step screenshots come from Born 2 Game’’s “Graveyard Keeper 2 Factory Setup Guide”, checked on 2026-10-04. The page uses the English auto-caption transcript for the sequence and links each screenshot to its exact timestamp. The video is a community walkthrough, so numeric rules and patch-sensitive mechanics are cross-checked against this site’’s GK2 facts record; no unverified reputation threshold or throughput claim is presented as a fact.
Related Articles
guides
Graveyard Keeper 2 Orders Guide — Town Warehouse Walkthrough
Learn when Town Warehouse orders open, how to accept up to two, craft the requested supplies, deliver them, and check the weekly order cycle.
guides
Graveyard Keeper 2 Tech Tree: Points and Branches
Learn how the five Graveyard Keeper 2 tech trees connect, where to spend red, green and blue points, and how to use Study Table research for an early boost.
guides
How to Make Zombies in Graveyard Keeper 2 (2026 Guide)
How to make zombies in Graveyard Keeper 2: the two free story zombies, the full Resurrection Table checklist and the Envy-day rule — follow the walkthrough.
Was this helpful?
Thanks for the feedback!