Graveyard Keeper 2 Orders Guide — Town Warehouse Walkthrough
Learn when Town Warehouse orders open, how to accept up to two, craft the requested supplies, deliver them, and check the weekly order cycle.
FAQ
When can I accept Town Warehouse orders?
How many Town Warehouse orders can I have at once?
Where do I deliver an order?
How long does an order take to pay out?
Quick answer
Town Warehouse orders are a small supply loop: accept a request on Pride day (the purple sun), make the exact goods shown on the board, carry them into the warehouse, and leave them at the covered drop point. The board then shows your progress. You can keep up to two orders active at a time.
This guide follows two independent order walkthroughs and uses the clear Supply: Iron example shown in both. The requested item, quantity, reward, and timing belong to the order card you currently see; do not treat the example as a complete list for every order.

How to Fulfil Orders at the Town Warehouse in Graveyard Keeper 2
1. Wait for the order day
The warehouse board can be opened on other days, but the board notice says that new orders are accepted only on the purple-sun day. Plan the trip before Pride day so your goods are ready when the board opens.
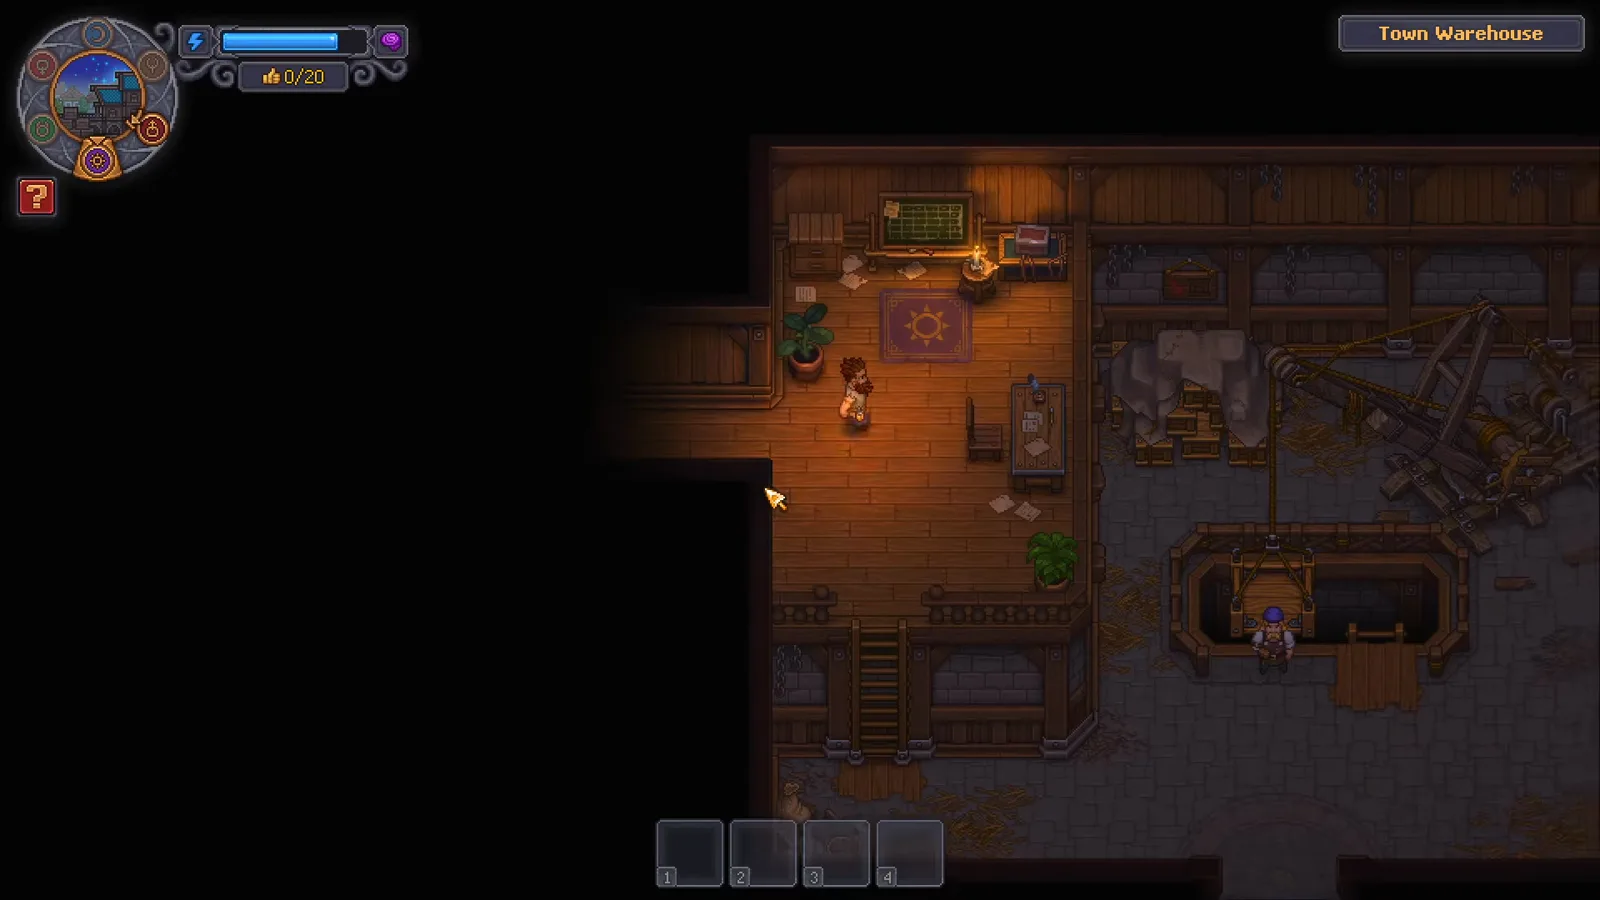
The first walkthrough enters the Town Warehouse before opening the order board. Source frame: Born 2 Game at 0:33.
2. Open the board and choose a request
Interact with the board on Pride day. A circular arrows icon marks repeatable requests in the checked walkthrough. The board can offer several supply cards, and the walkthroughs show that two slots can be active. Hover or select a card before accepting it so you can read the exact item, quantity, and reward.
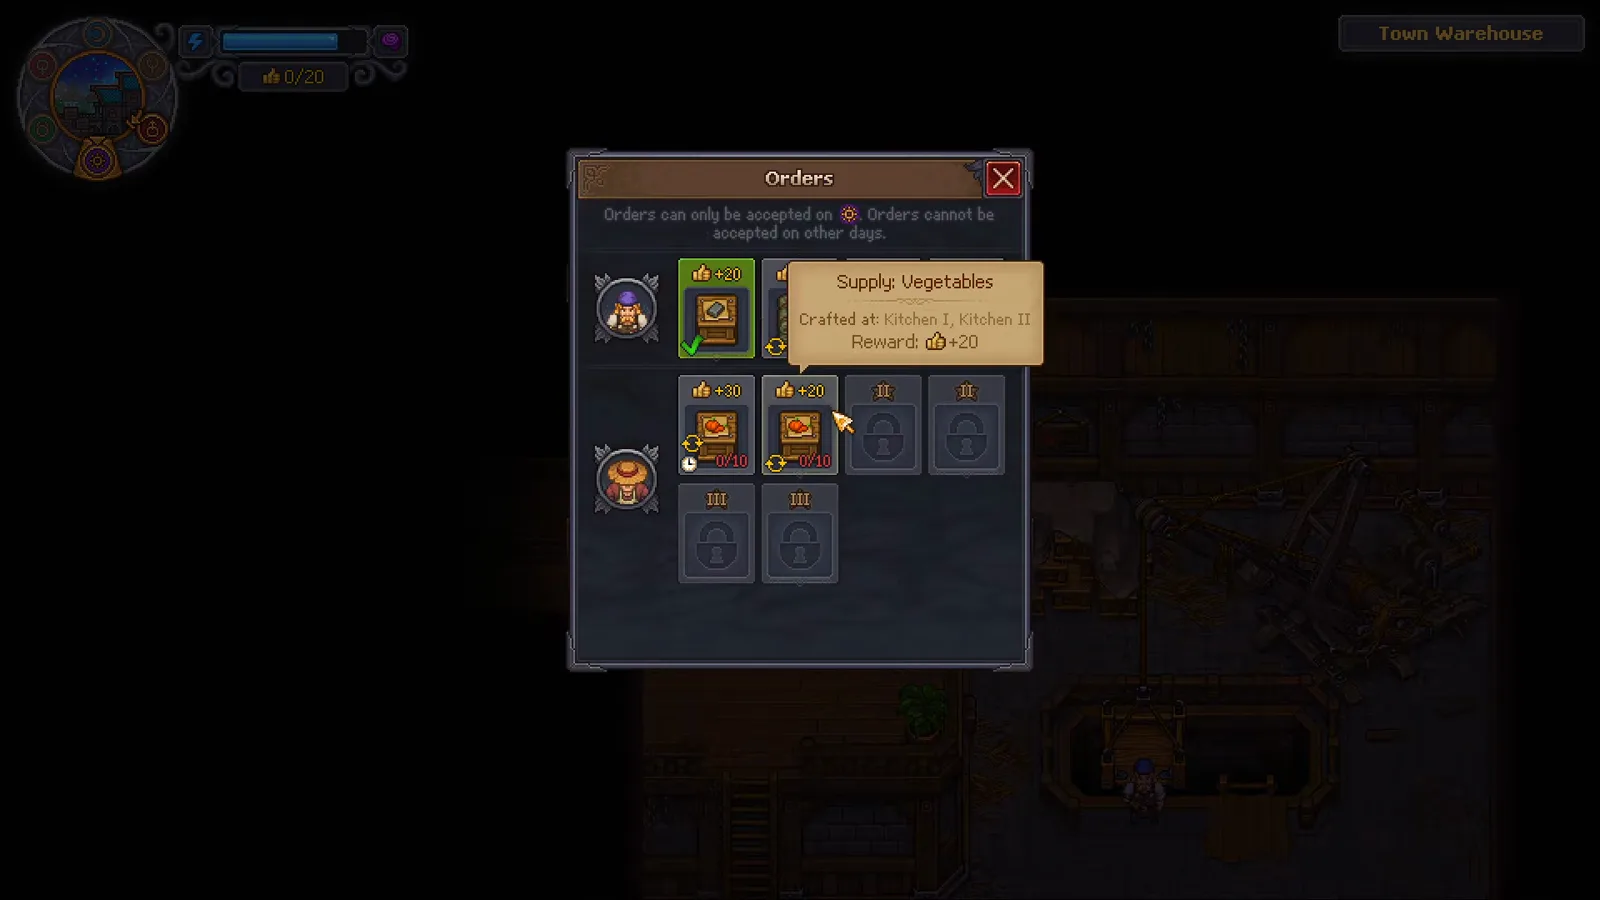
The circular arrows mark the repeatable cards in this frame. Source frame: Born 2 Game at 0:38.
The two checked videos agree on the basic interaction, but their visible cards are not identical. Read your own board instead of copying an item from a screenshot.
3. Read the exact supply and count
For the worked example, the selected card is Supply: Iron. Its tooltip lists the stations that can craft it, while the card shows a five-item counter in this run. That 1/5 counter is evidence about this example only; other supply cards can ask for a different count.
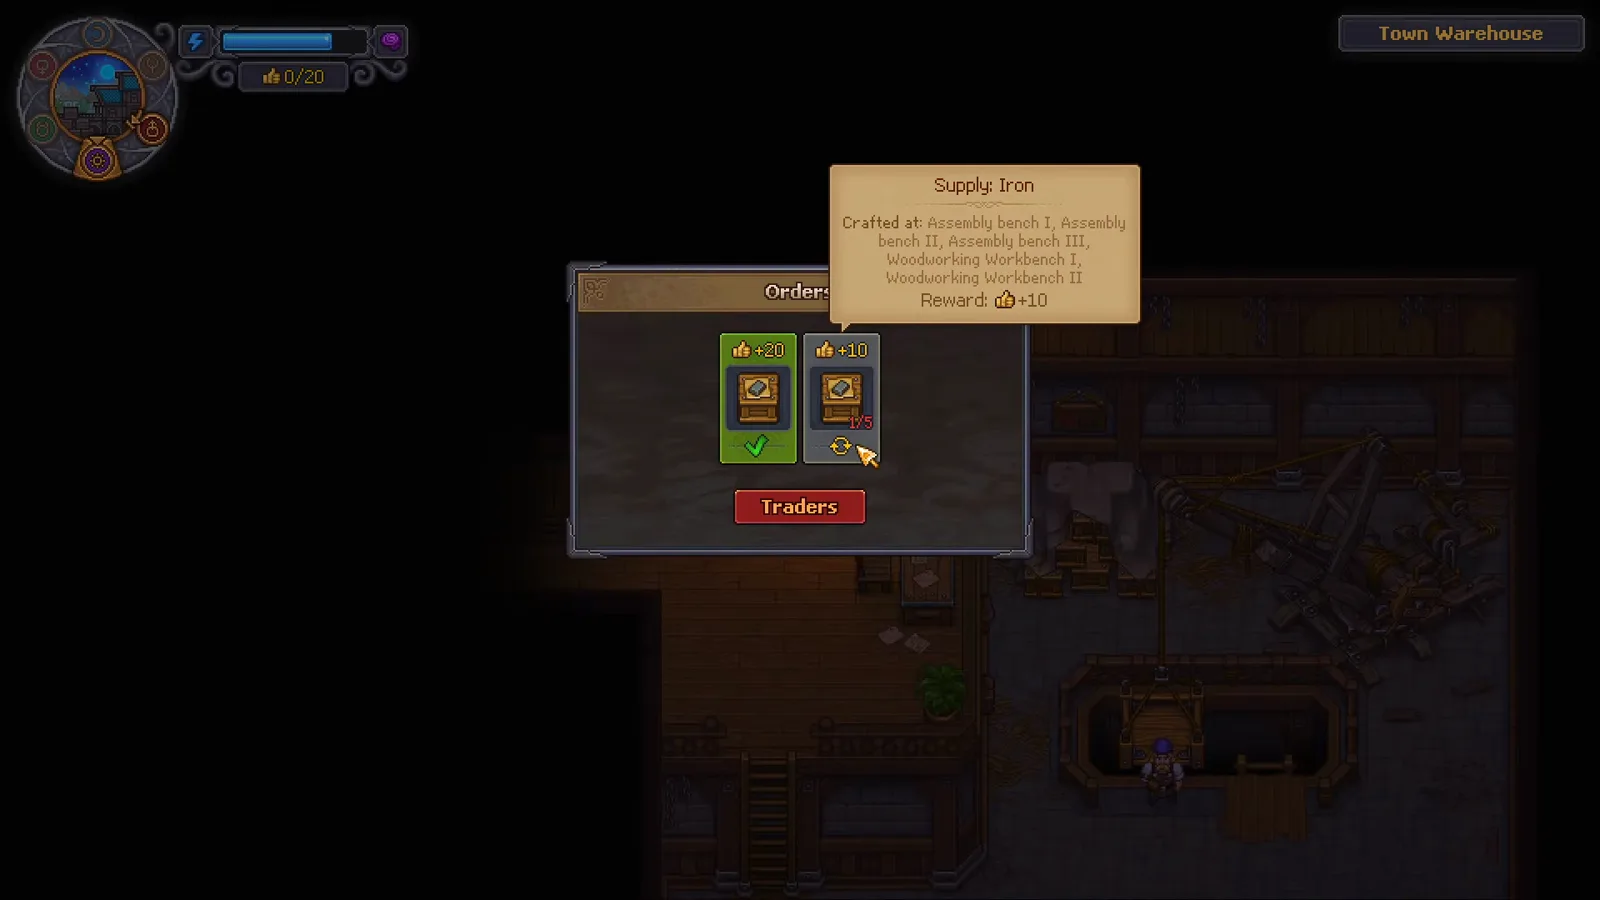
The card names the supply and shows the current counter. Source frame: Born 2 Game at 1:43.
Write down the item and count before leaving the warehouse. The board is the reliable place to check a live order because rewards and requirements are attached to individual cards.
4. Craft the requested goods
Return to the yard and use one of the stations named by the order tooltip. In the video example, the player returns to the yard and prepares the supply before travelling back to town. Keep the requested goods in your inventory so the delivery step is easy to verify.
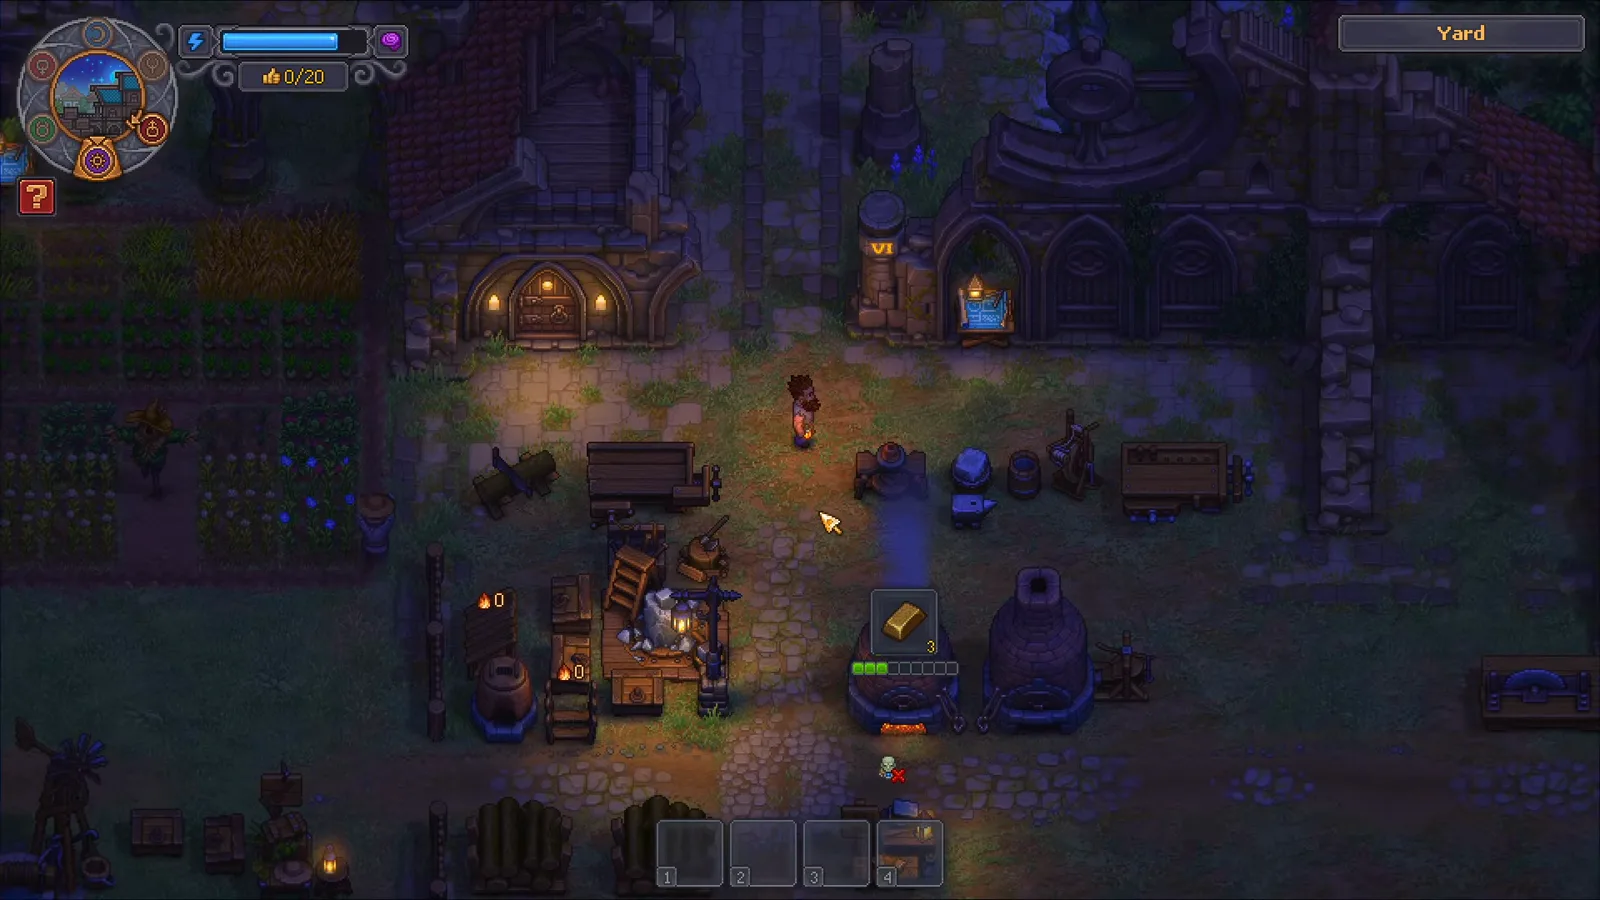
The example returns to the yard to prepare the order goods. Source frame: Born 2 Game at 1:08.
For a larger supply chain, use the factory production calculator to estimate output from stations and the production calculator to find the bottleneck in a single recipe.
5. Enter the warehouse and find the drop point
Travel back to the Town Warehouse with the requested goods. Enter through the front, go down the ladder, and move to the covered delivery spot in the lower area. The walkthrough shows the player carrying the supply while descending into the warehouse.
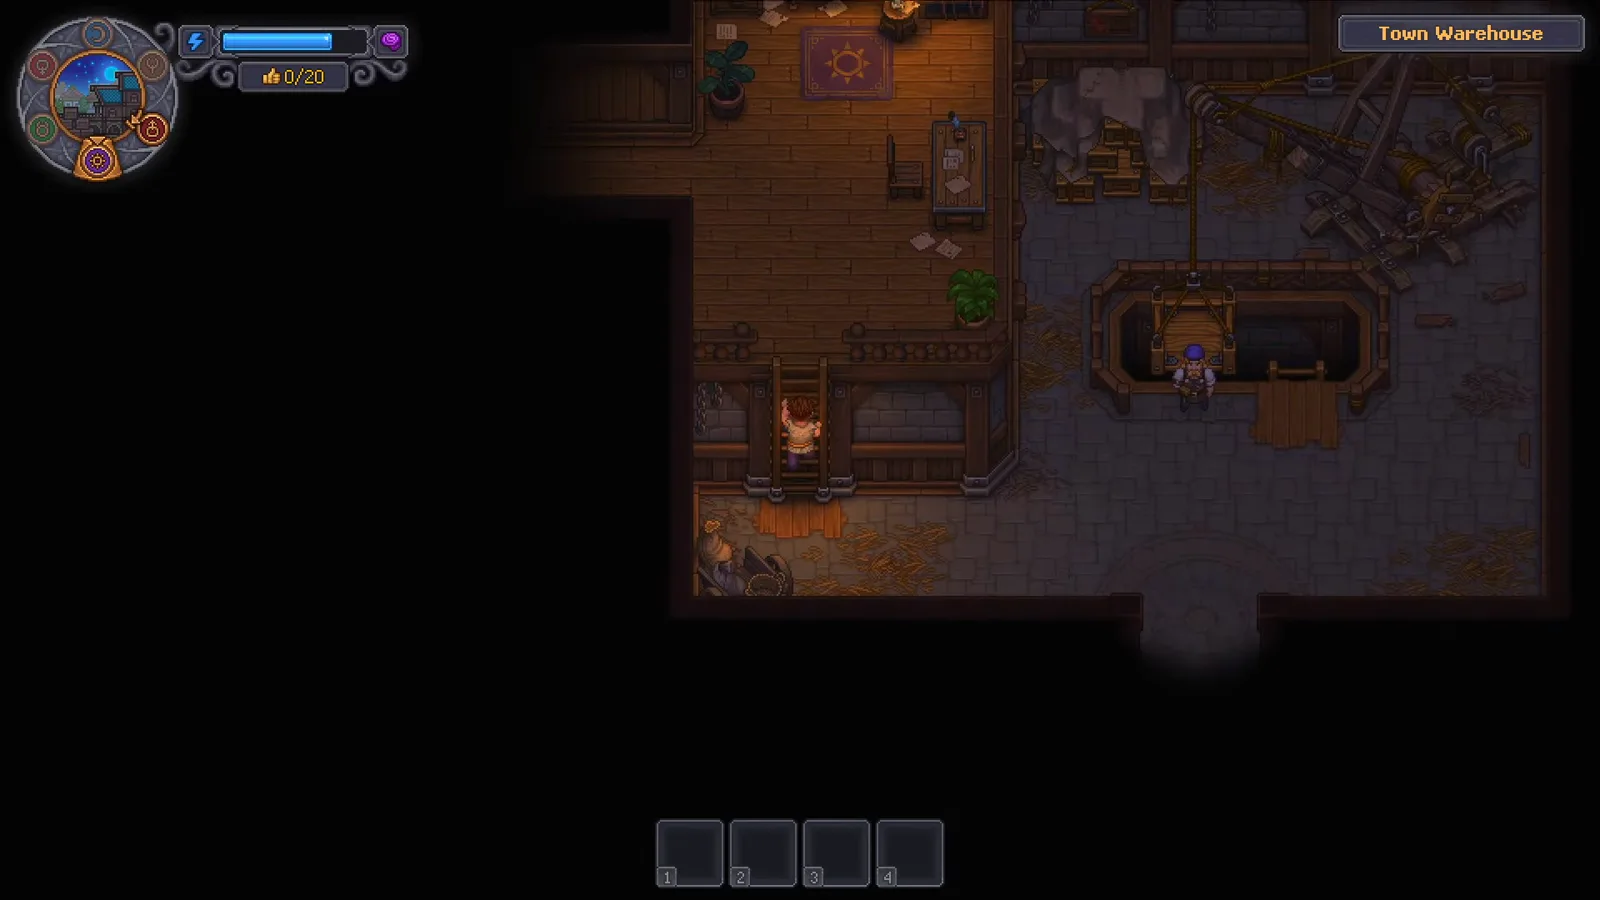
The ladder leads to the lower warehouse area used for delivery. Source frame: Born 2 Game at 1:31.
Place the goods at the covered box or loading spot shown by the interaction prompt. The order board, rather than your inventory, is what confirms that the hand-in counted.
6. Reopen the board and check progress
After dropping off a unit, return to the board. In the checked Supply: Iron run, the card reads 1/5 after the first delivery. Continue making and delivering units until the card reaches its own required count.
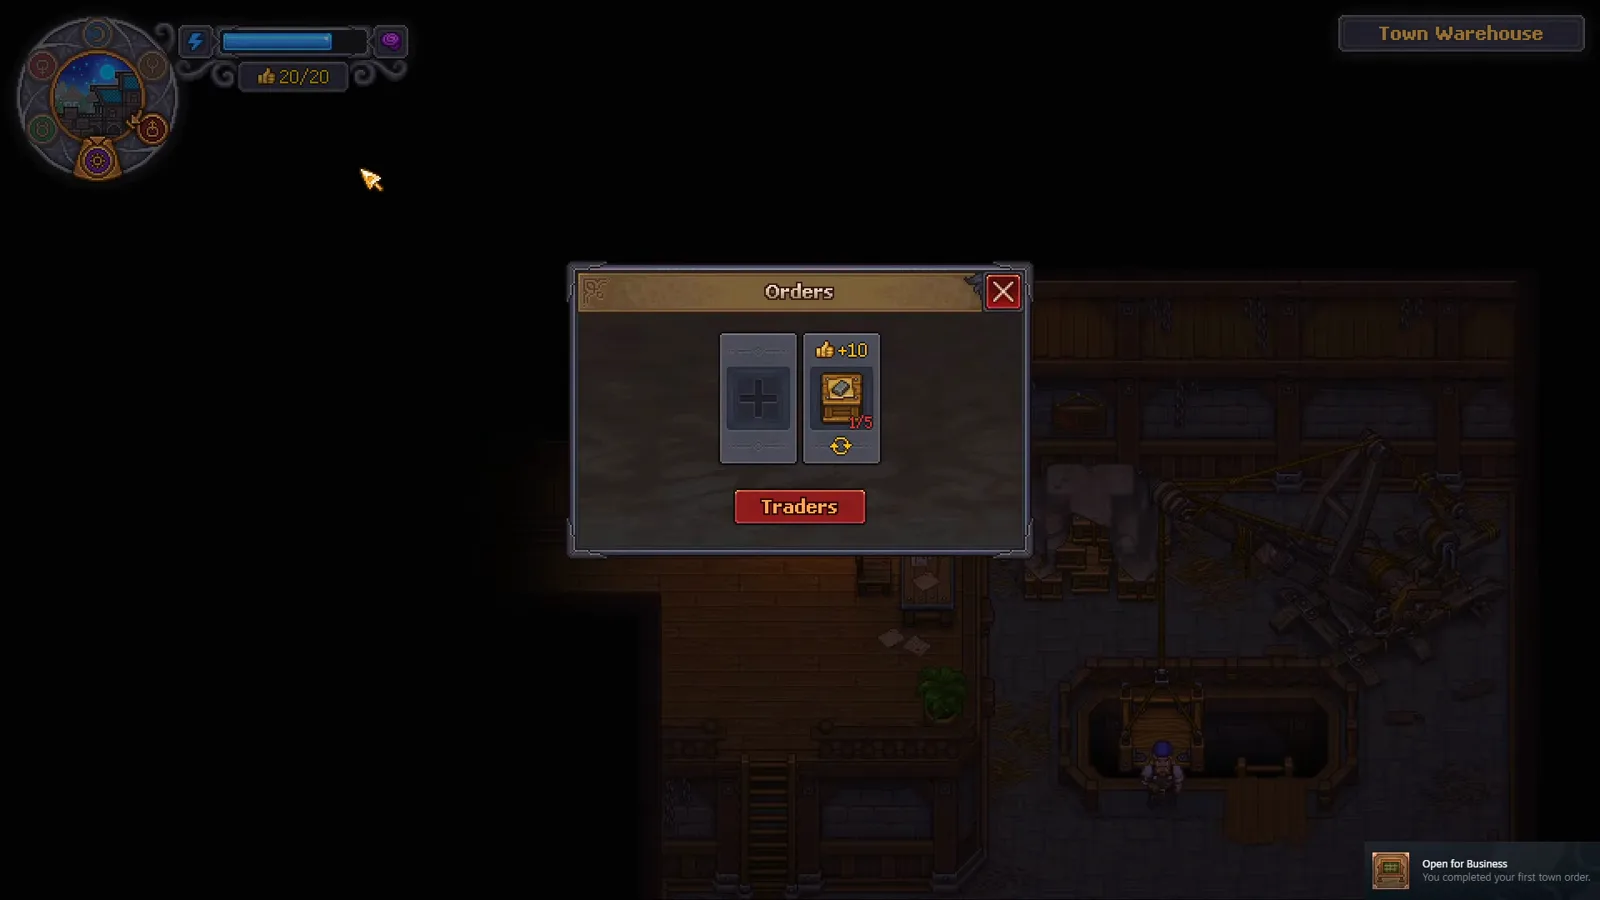
This 1/5 state belongs to the visible Supply: Iron example. Source frame: Born 2 Game at 1:52.
7. Plan around the payout cycle
Both checked walkthroughs say that their example order is resolved on a later weekly cycle after the goods are placed. The exact reward and counter are shown by the live card, so check the board again when that cycle arrives before planning the next production batch.
The long-term route is to connect this loop to automation: the how to make zombies guide explains the workforce used by production stations, while the calculators help you decide whether one or two active orders fit your current output.
Sources and verification
The gameplay steps and screenshots were checked on 2026-10-04 against two independent English walkthroughs: Born 2 Game’s 219-second Town Warehouse walkthrough and Quick Tips’ 119-second Town Warehouse walkthrough. The second video independently repeats the purple order day, repeatable cards, two-order limit, warehouse hand-in, and later weekly resolution.
The article intentionally does not publish a complete reward or goods table. Community references list more supply categories, but the project research notes mark the full order-reward table as not yet individually verified. Recheck the live card after a patch.
Related Articles
guides
Graveyard Keeper 2 Automation: Factory Guide
Build a reliable Graveyard Keeper 2 automation loop with zombie power, conveyors, factory stations, fuel automation and city supply orders step by step.
guides
Graveyard Keeper 2 Tech Tree: Points and Branches
Learn how the five Graveyard Keeper 2 tech trees connect, where to spend red, green and blue points, and how to use Study Table research for an early boost.
guides
How to Make Zombies in Graveyard Keeper 2 (2026 Guide)
How to make zombies in Graveyard Keeper 2: the two free story zombies, the full Resurrection Table checklist and the Envy-day rule — follow the walkthrough.
Was this helpful?
Thanks for the feedback!